Looking for inspiration or practical examples of how to use OpenBox? Start here!
This gallery showcases a variety of examples, including designs and configurations, to help you get started. Some examples are fully documented, while others provide a visual overview for quick reference. The gallery is regularly updated as new items are created and shared.
steps to get you started in designing
- Browse for Ideas: Explore the gallery to find designs or workflows that match your needs.
- Dive Deeper: For detailed instructions or configurations, check the linked documentation and other sections.
- Ask Questions: If you see something in the gallery that isn’t fully documented yet, feel free to reach out:
- Leave a comment on GrabCAD
- Ask in David’s Discord community.
- Post an issue in the GitHub repository.
Designs for power transmission and torque conversion. The handybox offers a wonderfully ridgid housing for retaining parallel and perpendicular shafts. The BushBox is the subset of designs for bushings implemented in the handybox. As of 2026.05 we have new models to be photographed, with effective pulley implementation using no. 150 o-rings, and pulleys that rest on bearings.
- Download bushbox CAD models based on 6mm shafts, printable bushings and retainers.


Designs for holding your toos & equipment & securing them where needed.
Below: (left) Overview of some tool holders made with HandyBox, for custom fitment of various round shank sizes. (center) Use the box with a magnet (designed for unistrut assemblies) for storing within reach. (right)The spacing in back of the box aligns with ordinary 1x1 inch pegboard


Or, fasten the box to a composite pegboard with the compatible screws, and still reach the fastener when the openbox is loaded. Make a business card holder - this one has a wide section for related cards that don't fit regular business card width.


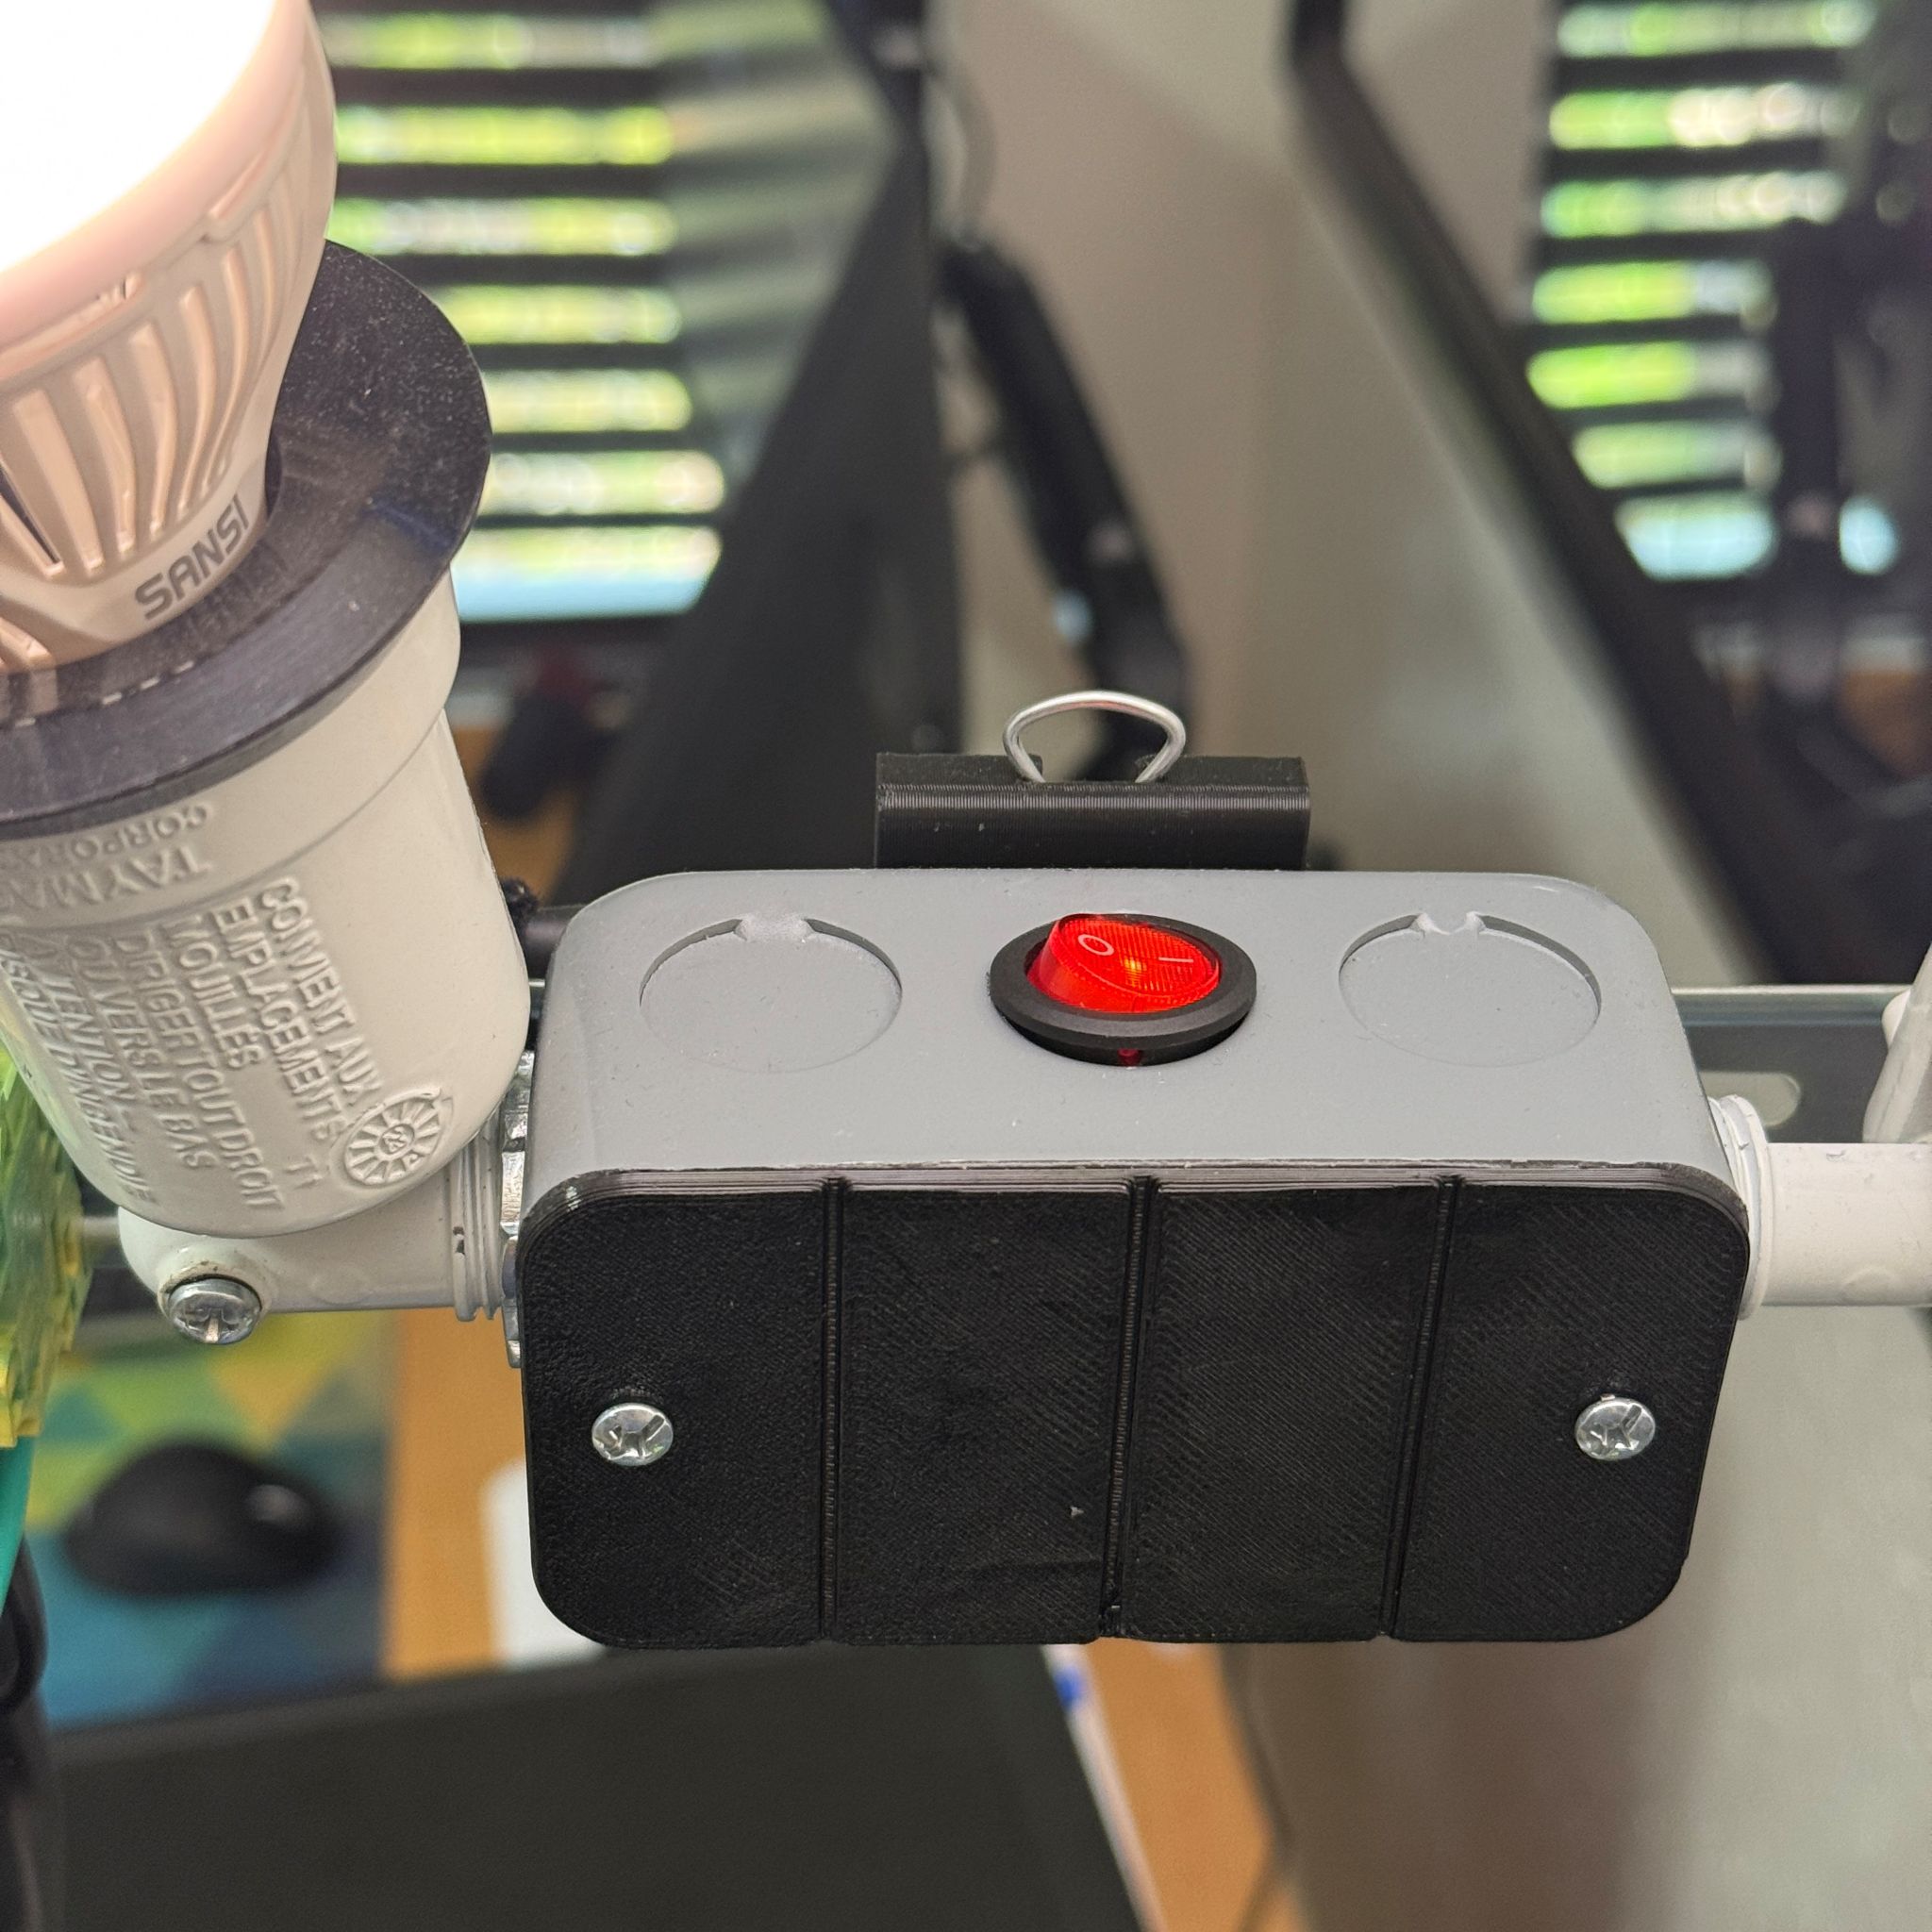
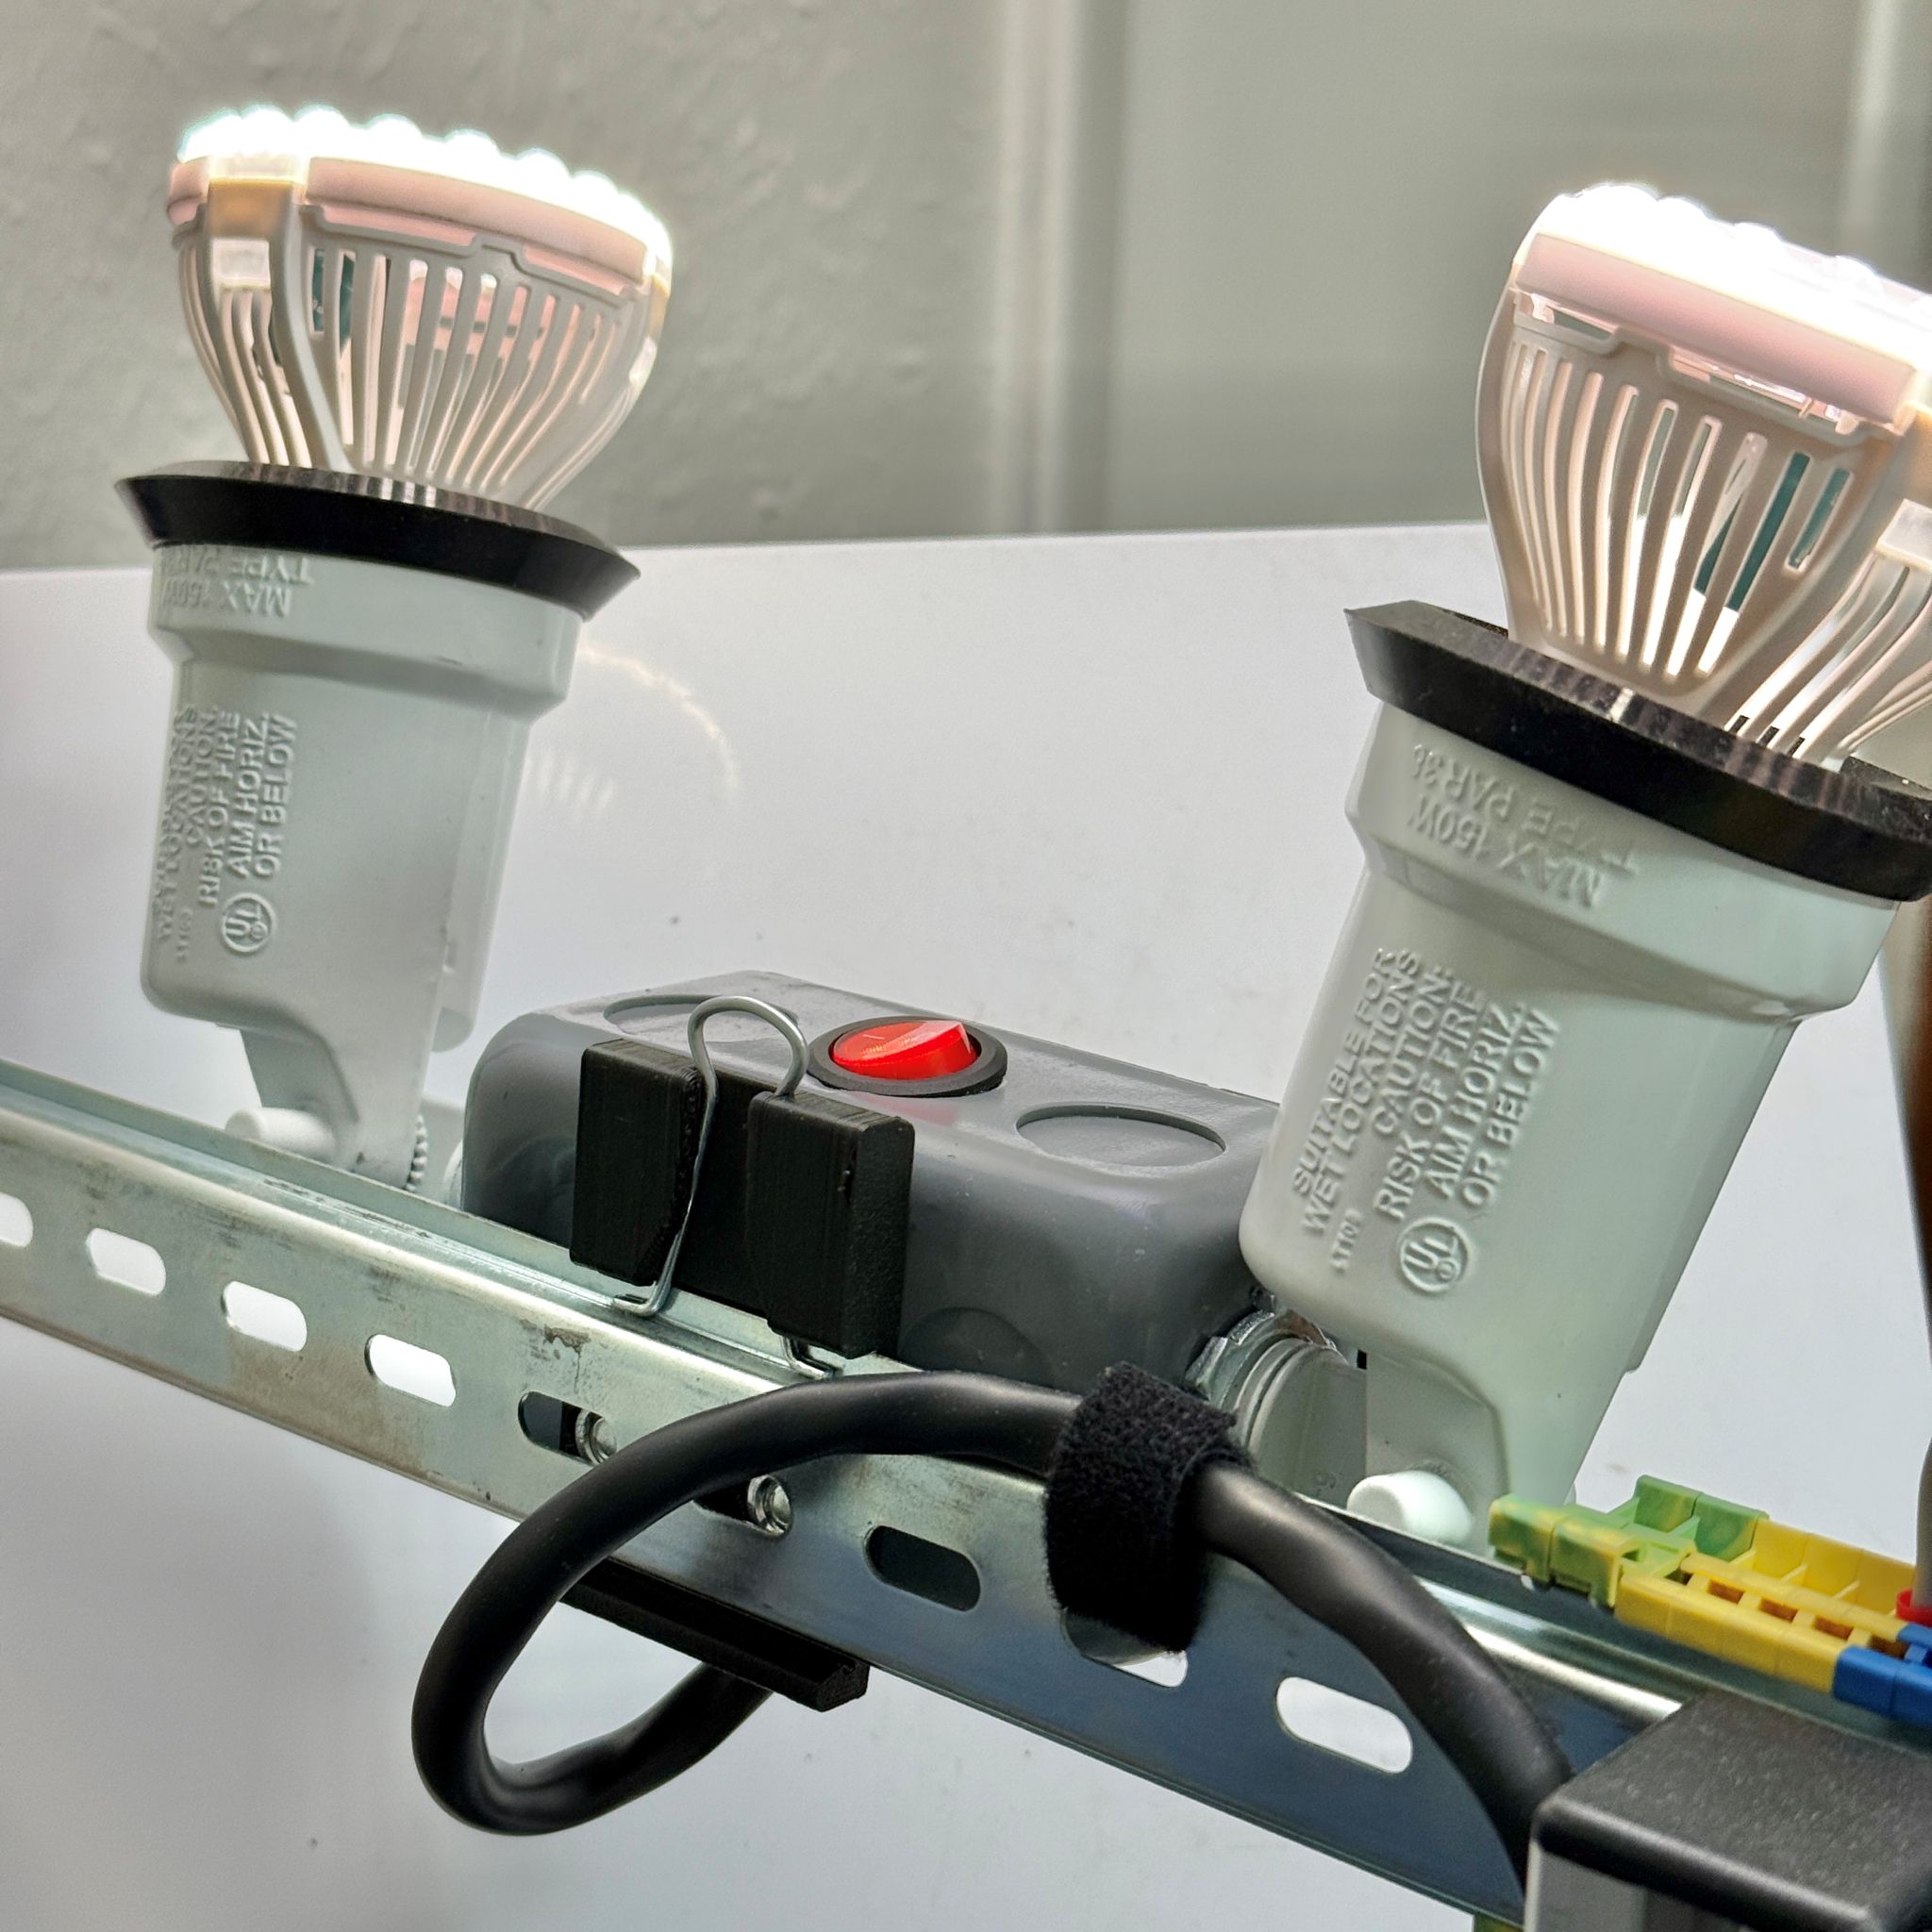
For 120v or 240v appliances with custom wires or switches. See the 3rd and 4th photos showing front and back installation of switches, using the box and M6 fasteners to secure on aluminum extrusions. We get a safe and rigid attachment for customizing the switches of the soldering desk appliances. Check out Openlab Project for more info about the soldering station.
(img1) Design your own electronics box, as usual with 3d printing but use standard parts! (img2)Switches with 22mm circle snap right into place.


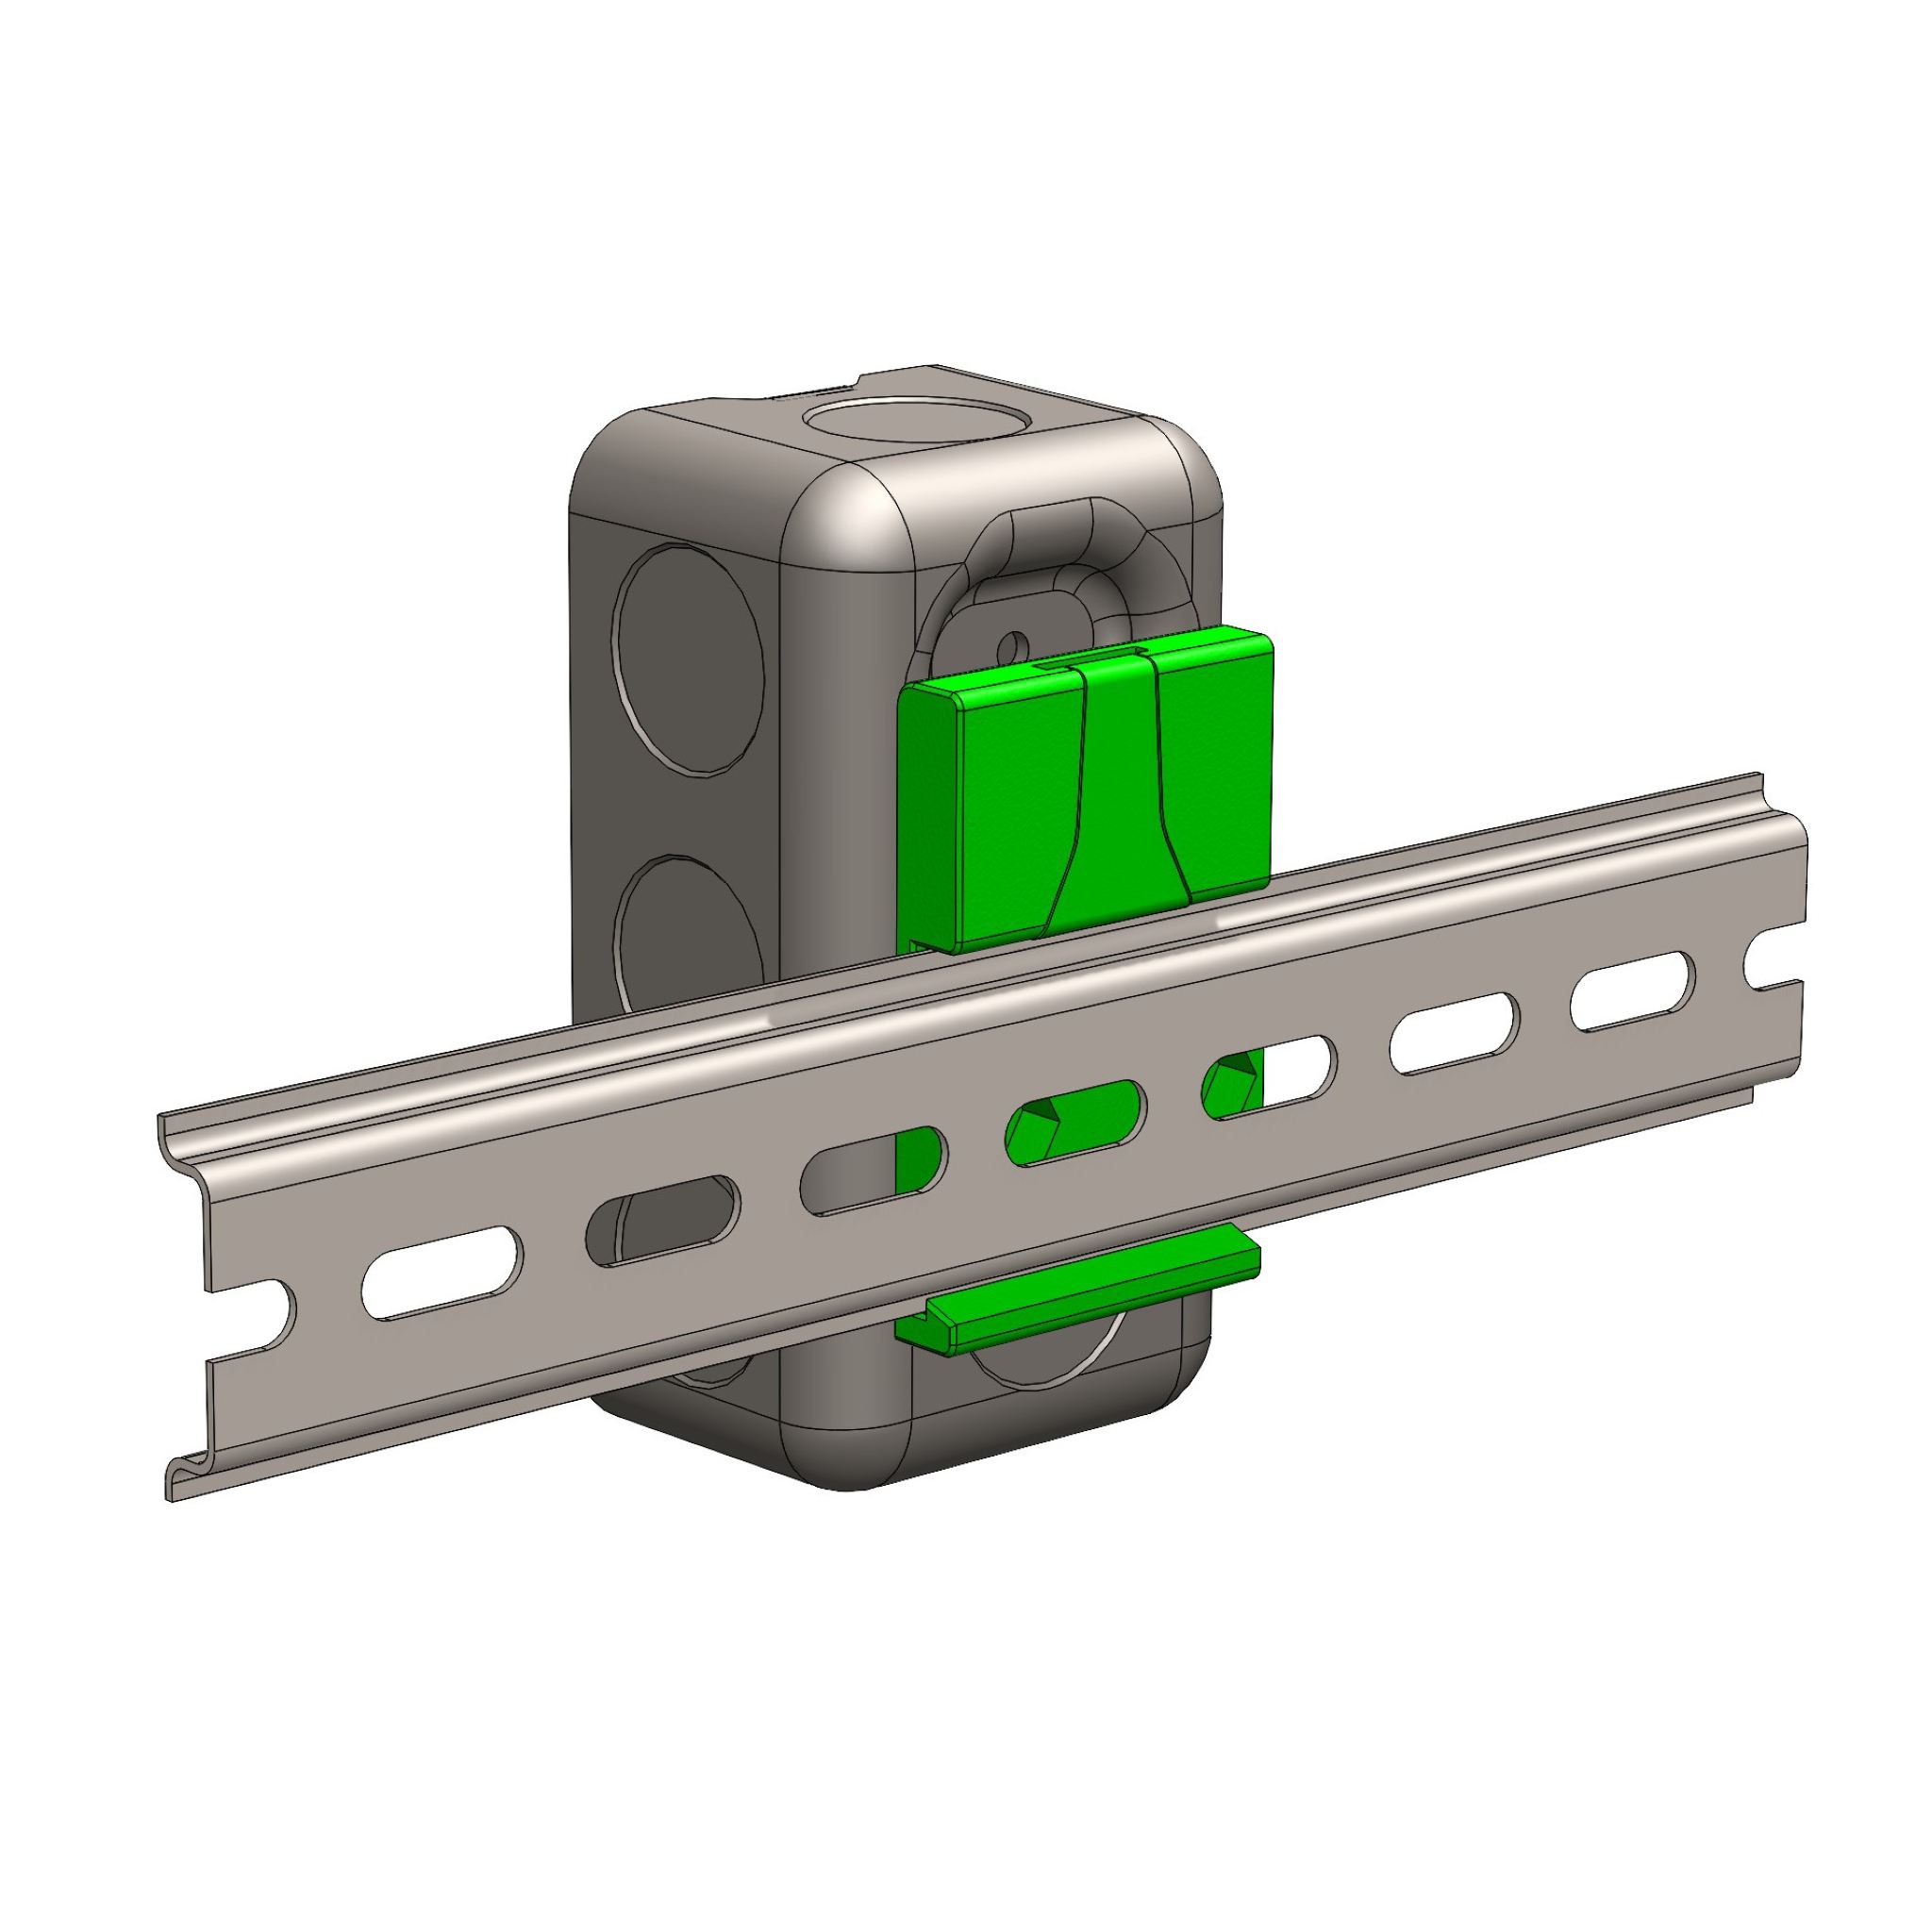
We are marching towards electronics integration one step at a time. I built the below "handymount" because it merges two worlds: home electrical circuits and industrial electronics. DIN rail is where automation experts design all of their parts to fit. It has a massive ecosystem of compatible parts. And the handybox will never go out of style. Now you can fit a $0.77 AC socket wherever you have DIN rail and AC lines, and the attachment between them is designed in CAD. Next up: to make arduino & other MCU based projects.
The Car Adapter converts a power tool battery to a cigarette lighter socket. It includes a simple cover (panel) and the handy bushing (3D Printed). (left to right) front side, back side with lighter socket, full assembly with ridgid battery, 18v, and adapter setup.


More photos from updated assembly designs below. The power adapter setup as of 2025.10 connects to a ridgid battery, using the handybox and a printable device called "terminal v2" which snaps into the Ridgid battery. The anderson connector is added to the front port, and the same connector on a pigtail. Shown below, a larger square handybox with a flat panel and a 30A ammeter. If you purchase one of the thousands of meters online with square interfaces, a quick adjustment of the flat panel and a 3D print gets you a fully enclosed sensor box that can easily be adjusted for adding cords.


The handy bushing design holds a wire or a plug in place, such as Anderson Powerwerx connectors. It was designed by benchmarking the similar off-the-shelf designs. The OTS bushings work great but we gain custom features by making our own.
(left) handy bushing next to OTS part with similar function (right) handy bushing shown placed into the box, 1/2in trade size hole around 22mm.


Combine the handybox with 3/4in steel conduit for the fastest custom hanging rod you've ever made. The home improvement stores carry rigid connectors for straight and 90 degree angles, as shown in the last photo. You can easily choose the orientation of the box that lets you fasten it to the wall with long screws.


Utilize the rigidity, strength, and symmetry of the box to carry a load that moves. This example demonstrates an articulating arm for a big patio fan, with minimal parts. The fan can be moved by hand and hold steady while the fan cools you down. Sometimes it's turned to blow sawdust out of my workspace and sometimes for keeping cool at the bbq. As a quick and dirty solution, these two boxes effectively hold the fan and allow pivoting, but it's desired to form a design which refines this joint and eliminates the steel/steel rubbing condition. Keywords for the design below: fan, swing-arm, pivot, heavy mounting, linkage, video


A designer has a rotating shaft in a machine and must create a gear-reducing mechanism. How can the steel box help? Let's use Q&A format to share an explanation & photos.
- How can we align two parallel shafts to set up for power transmission? use two pairs of knockouts to inset the parallel shafts. Use a printable bushing to hold them. (see first photo)
- How can we adjust the shaft distance to take slack out of the chain loop? One pair of bushings will feature an offset centerline. Rotating the bushings can pull one shaft further from the other.
- Starting with just a bolt, how can we make it easier to turn a shaft by hand? A hexagon-shaped knob is press-fit onto the bolt or nut head. (see blue knob in photos)


Each design element in the assembly is an answer to a specific design need. Those answers can be carried over to new designs.
- How can we retain the bushings inside the wall of the box? Using a c-clip is perfect. Add a groove into the bushing design for locating the c-clip. (see first photo)
- How can the gears be locked in position on the shafts? Each OTS gear has a collar featuring 1 or 2 set screws. For a gentle grip, just tighten the set screw. For a sure hold, grind a divot into the shaft where the set screw will be added. Once you tighten the set screw, it behaves like a key and it holds the full shear-strength of the screw.
- How can we mount the whole box rigidly where it is needed? Just find another knockout, oriented where you need to mount the box, then add an OTS coupler to secure the box to steel EMT conduit. (see third photo below).


This short video demonstrates a design possibility where the handybox offers thermal characteristics we can't gain with 3D printing. The steel captures and retains heat so the box can become an oven. Injecting hot air with the electric hot air gun makes no degradation of the material, then the small holes create distributed exhaust ports which cause more even heating of the enclosure. The base plate, made of ceramic tile seals the floor and retains heat further. Easily insert a thermocouple, and we are only a few steps away from a temperature-controlled, automated, high efficiency baking chamber. It could be used as a heat-shrink oven, a polymer sintering oven, or even a scientific datalogging furnace setup. The project shown is several steps away from fully ready - want to take and run with it?
<iframe width="503" height="895" src="https://www.youtube.com/embed/ZSltUDbt1nE" title="use Heat Transfer principles to build a heat shrink bake box" frameborder="0" allow="accelerometer; autoplay; clipboard-write; encrypted-media; gyroscope; picture-in-picture; web-share" referrerpolicy="strict-origin-when-cross-origin" allowfullscreen></iframe>