An in-depth guide outlining how to complete an XRP crosschain transaction using both the Wanchain Desktop Wallet and the WanBridge web portal.

This guide will demonstrate four separate crosschain transactions:
- $XRP from Wanchain to XRP Ledger using the Wanchain Desktop Wallet
- $XRP from XRP Ledger to Wanchain using the Wanchain Desktop Wallet
- $XRP from Wanchain to XRP Ledger using the WanBridge web portal with Metamask
- $XRP from XRP Ledger to Wanchain using the WanBridge web portal
Note: XRP Ledger requires a 10 XRP wallet minimum balance, this means that once you send XRP to your address, it will “lock” 10 XRP as a minimum reserve. Read more about it here: https://xrpl.org/reserves.html.
Navigate to Wallet → More Tokens.

Scroll down until you see XRP. Then, click the stars next to wanXRP and XRP. As in the screenshot below.

$XRP and $wanXRP wallets are now enabled and appear in your portfolio overview.

Navigate to Cross Chain → More Tokens.

Scroll down until you see XRP. Then, click the star next to XRPL <-> Wanchain. As in the screenshot below.

Navigate to Cross Chain → XRP → XRPL <-> Wanchain.

Since you are moving $XRP from Wanchain to XRP Ledger, click “Convert” next to your wanXRP balance, as in the screenshot below. $XRP on Wanchain is called $wanXRP.

Select which of your $XRP wallets you would like to receive the $XRP on XRP Ledger, enter the amount of $wanXRP to convert, then click “Next”. Optionally, you can select “Send Everything” to move your entire $wanXRP balance to XRP Ledger.

Confirm that all the details are correct then click “Send”. This will initiate the crosschain transaction.

While your crosschain transaction is processing, the status will change three times:
- Lock Request Sent — A lock request has been sent to Wanchain’s bridge nodes.
- Locked — Your wanXRP is now locked with Wanchain’s bridge nodes.
- Success — Your crosschain transaction is now complete.
Note: The speed of the crosschain transaction is entirely dependent on the networks involved. Transactions involving slower networks like Bitcoin or Ethereum may take several minutes or more to complete.

While your crosschain transaction is processing, you can click the status to view more detailed information.

Once your transaction is complete, you’ll see your XRP balance update, and the crosschain transaction status change to “Success”.

Navigate to Cross Chain → XRP → XRPL <-> Wanchain

Since you are moving $XRP from XRP Ledger to Wanchain, click “Convert” near your XRP balance, as in the screenshot below.

Select which of your $WAN wallets you would like to receive the $wanXRP on Wanchain, enter the amount of $XRP to convert, then click “Next”. Optionally, you can select “Send Everything” to move your entire $XRP balance to Wanchain.

Confirm that all the details are correct then click “Send”. This will initiate the crosschain transaction.

While your crosschain transaction is processing, the status will change three times:
- Lock Request Sent — A lock request has been sent to Wanchain’s bridge nodes.
- Locked — Your XRP is now locked with Wanchain’s bridge nodes.
- Success — Your crosschain transaction is now complete.
Note: The speed of the crosschain transaction is entirely dependent on the networks involved. Transactions involving slower networks like Bitcoin or Ethereum may take several minutes or more to complete. You’ll also notice ~10 XRP has been “locked” as the XRP wallet minimum balance as described at the beginning of this guide.

While your crosschain transaction is processing, you can click the status to view more detailed information as we did before.

Once your crosschain transaction is complete, you’ll see your $XRP balance on XRP Ledger update, and the crosschain transaction status change to “Success”.

Before completing decentralised crosschain transactions using the WanBridge web portal, you need to ensure you have access to the correct wallet(s). You must have wallets for each network involved in the crosschain transaction. Metamask is a fantastic wallet that grants you access to any EVM-compatible blockchain networks.
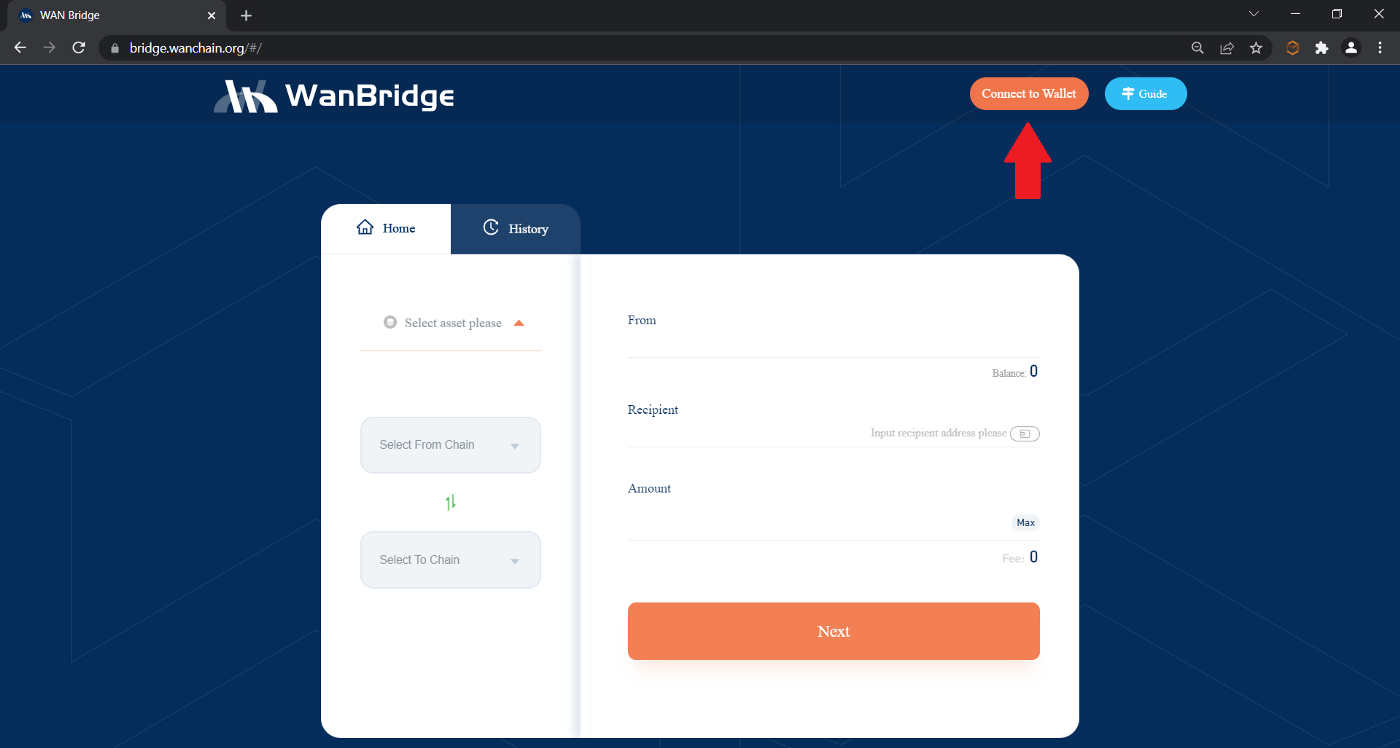
Click “Connect to Wallet”.
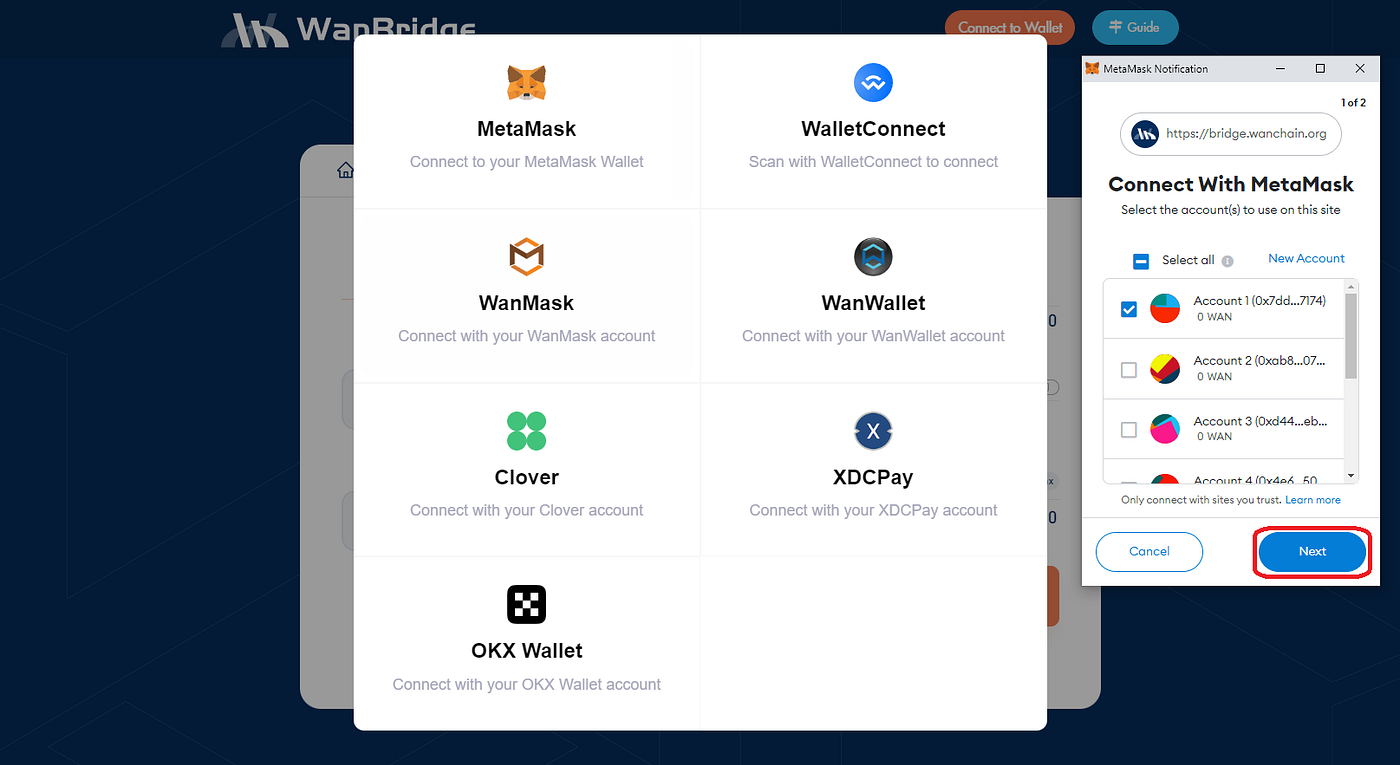
Click “Metamask”.

If this is your first time using the WanBridge web portal, you will first need to give permission to connect your wallet. Follow the MetaMask prompts by clicking “Next” then “Connect” as instructed.

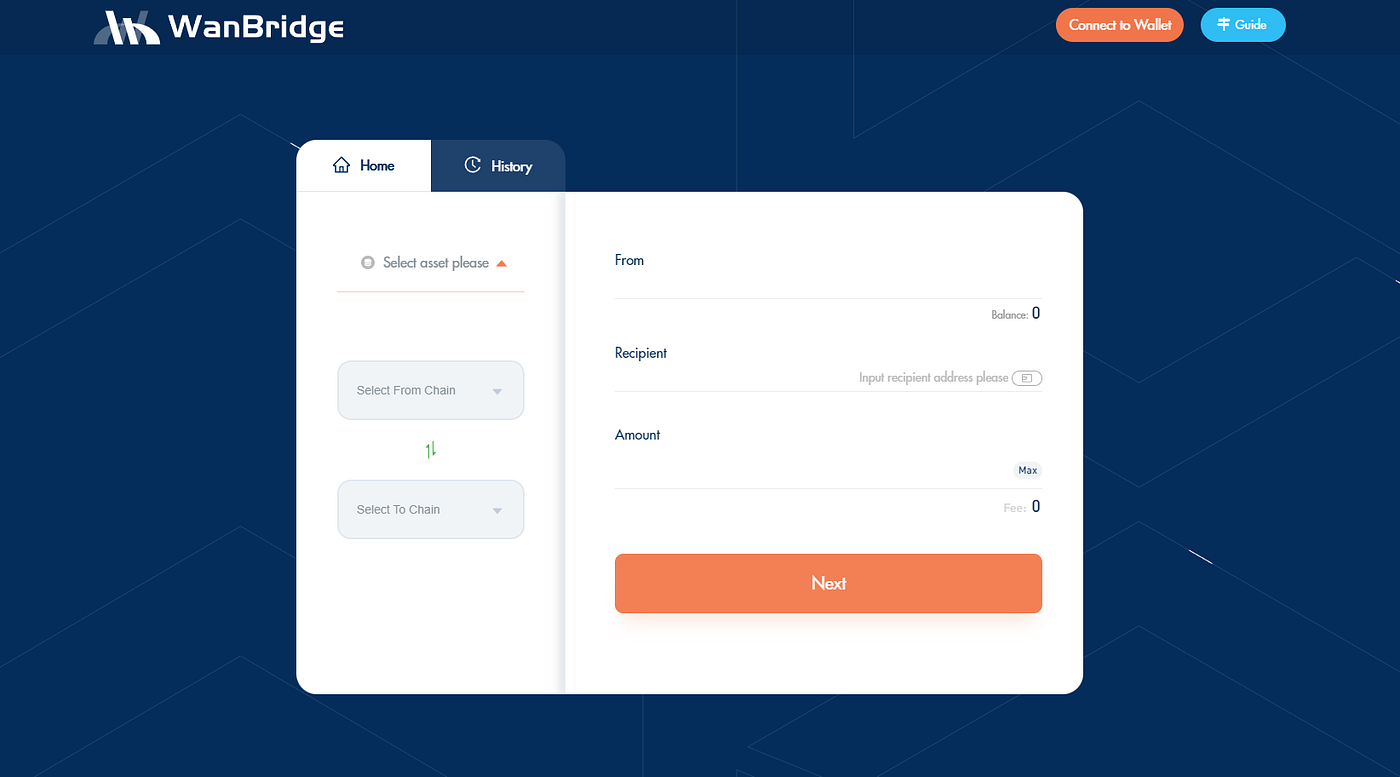
Select “XRP” from the drop-down menu. Then, choose “Wanchain” and “XRP Ledger” as your From and To networks, respectively. Finally, input your destination address in the “Recipient” field as well as the amount of $XRP you want to send crosschain. Click “Next”.

Confirm that the “Recipient” address does not belong to a centralised exchange then click “Confirm”.

Confirm that all the details are correct then click “Confirm”.

Confirm the transaction by clicking “Confirm” in the MetaMask pop-up window.

While your crosschain transaction is processing, the status will change three times:
- Processing (1/2)
- Processing (2/2)
- Success
Note: The speed of the crosschain transaction is entirely dependent on the networks involved. Transactions involving slower networks like Bitcoin or Ethereum may take several minutes or more to complete.

Once your crosschain transaction is complete, you’ll see your $XRP balance on your XRP Address address, and the crosschain transaction status change to “Success”.
Before completing decentralised crosschain transactions using the WanBridge web portal, you need to ensure you have access to the correct wallet(s). You must have wallets for each network involved in the crosschain transaction. When transferring from networks that do not support native smart contracts, you will be instructed to manually send a transaction to initiate the crosschain transaction. It is highly recommended to only use a wallet that you own and control.
Select “XRP” from the drop-down menu. Then, choose “XRP Ledger” and “Wanchain” as your From and To networks, respectively. Finally, input your destination address in the “Recipient” field as well as the amount of $XRP you want to send crosschain. Click “Next”.

Confirm that the “Recipient” address does not belong to a centralised exchange then click “Confirm”.

Confirm that all the details are correct then click “Confirm”.

Read the warning and click "Confirm".

Copy the One-time Address and manually transfer the listed amount of $XRP using the XRP wallet of your choice. It is highly recommended to use a XRP wallet that you own and control.
Note: Be sure to send the correct amount of $XRP, as indicated. Send the entire amount as ONE transaction.

Read the warning and click “Confirm”.

While your crosschain transaction is processing, the status will change three times:
- Processing (1/2)
- Processing (2/2)
- Success
Note: The speed of the crosschain transaction is entirely dependent on the networks involved. Transactions involving slower networks like Bitcoin or Ethereum may take several minutes or more to complete.

Once your crosschain transaction is complete, you’ll see your $XRP balance on Wanchain (called $wanXRP), and the crosschain transaction status change to “Success”.
Join our Telegram Tech Support channel. Our support team is standing by and happy to help!
Note: If you receive a DM offering help, block them immediately. Admins will never DM you first! Never share your seed words with anyone, period.