Terraform module containing the resources and infrastructure needed to automate the deployment of a web server on AWS. Including:
- VPC (Virtual Private Cloud)
- Internet Gateway
- Custom Route Table
- Subnet
- Security Group
- Network interface
- Elastic IP assigned to the Network Interface
- Ubuntu server (including apache2)
These instructions will get you a copy of the project up and running on your local machine for development and testing purposes. See deployment for notes on how to deploy the project on a live system.
An AWS account is mandatory, as we're gonna deploy this infrastructure on... AWS :) If you already have one you can Sign In, otherwise you still can create a new AWS account
Please run the commands below to get and install Terraform on Ubuntu
sudo apt-get install unzip
wget https://releases.hashicorp.com/terraform/0.13.3/terraform_0.13.3_linux_amd64.zip
unzip terraform_0.13.3_linux_amd64.zip
sudo mv terraform /usr/local/bin/
ls /usr/local/bin/
Check if Terraform is now successfully installed by running:
terraform --version
# should return:
# Terraform v0.13.3
This part is gonna focus on how to deploy the project on a live system. Once Terraform is successfully installed and you have access to your AWS account, let's clone the repository and deploy the project :
git clone https://github.com/Cedric-M/terraform-aws-infrastructure.git
Once you cloned the git repository, you need to create an AWS Access Key:
Get the keys from console.aws.amazon.com/iam > security credentials > Access Keys
Add them to the terraform.tfvars file as follow:
aws_access_key = "XXXXXXXXXXXXXXXXXXXX"
aws_secret_key = "XXXXXXXXXXXXXXXXXXXXXXXXXXXXXXXXXXXXXXXX"
Once your keys are setup, all you have to do is to use the following commands:
terraform init                        #Initialize a Terraform working directory
terraform apply                       #Builds or changes infrastructure
Tips, to avoid writing manually "yes" each time you run terraform apply, use:
terraform apply --auto-approve
If the AWS infrastructure successfully build, you should see the following message in the terminal:
Apply complete! Resources: 9 added, 0 changed, 0 destroyed.
Outputs:
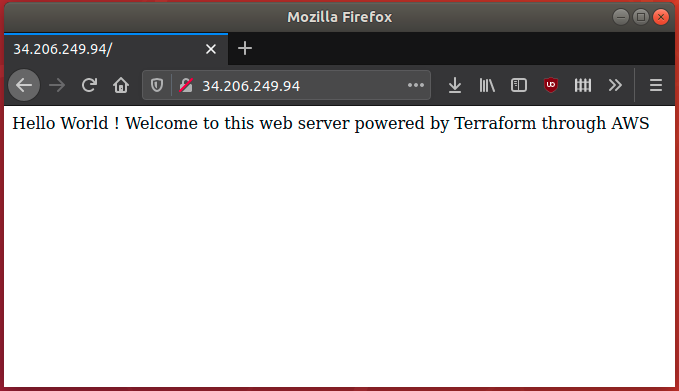
server_public_ip = 34.206.249.94
note: the public IP address will automatically be generated at each deployment, so it may vary.
You can now access it from your favorite web browser at the address shown :
In order to shut down the infrastructure we made, (also, not to use too much resource of you are using AWS Free Tier), you can run the following command once you are done:
terraform destroy --auto-approve #Destroy Terraform-managed infrastructure
terraform state list                  #Advanced state management: show all running instances
                                      #(make sure you ran terraform apply before)
terraform state show <ressource_name> # Show details about a specific ressource
Remember to choose AZ (Availability Zone) first, in our case: us-east-1
This key is going to allow us to connect our server once we deploy it
- Go to
console.aws.amazon.com/ec2> Networks & Security > Key Pairs - Choose
.pemfile format, for instance, name itaws-ec2-main-key
- Open an terminal (if you are using windows, find out how to connect using PuTTY)
- Locate your private key file:
aws-ec2-main-key.pem. - Your key must not be publicly viewable for SSH to work. Use this command if needed:
chmod 400 aws-ec2-main-key.pem
- Connect to your instance using its Elastic IP:
34.206.249.94
Example:
ssh -i "aws-ec2-main-key.pem" [email protected]
- Terraform - Open-source infrastructure as code software tool created by HashiCorp.
- AWS - Amazon Web Services cloud computing
We use GitHub for versioning.
- Cedric-M - DevOps/CloudOps Engineer