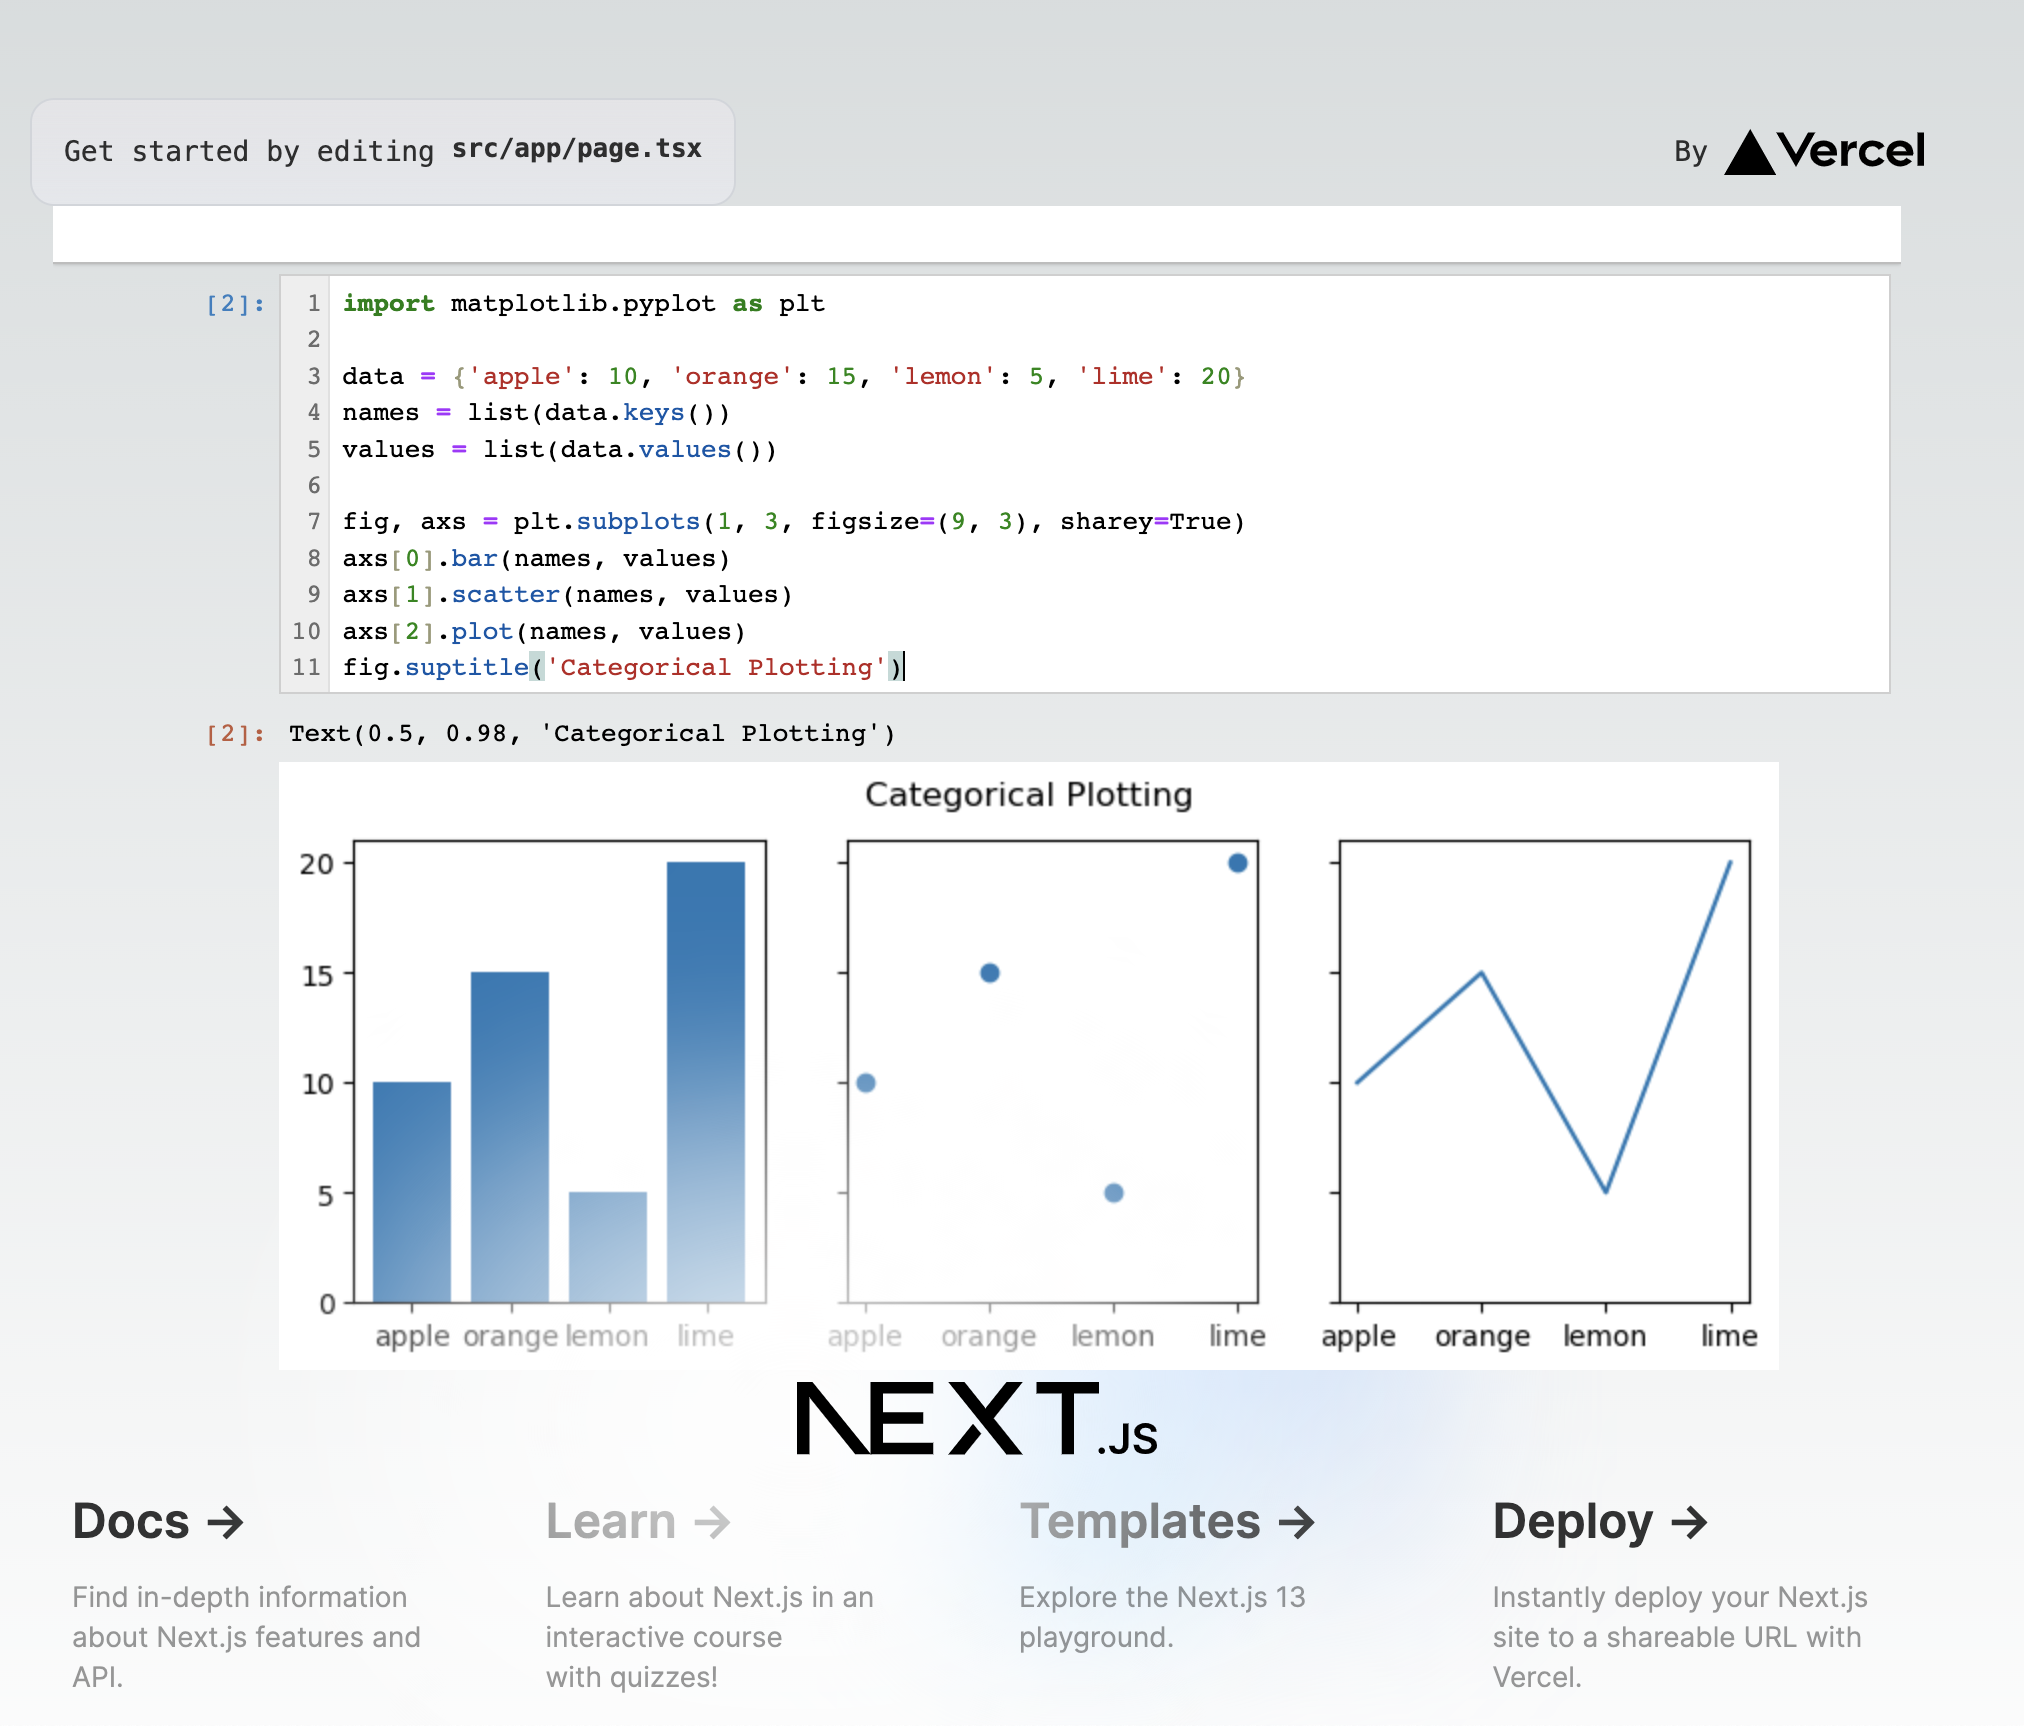
Live example on https://jupyter-nextjs-example.vercel.app
This is a Next.js project bootstrapped with create-next-app.
Read more on the documentation website (ensure you have tne needed development environment).
First, run the development server.
npm i
npm run dev
Open http://localhost:3000 with your browser to see the result.
You can start editing the page by modifying app/page.tsx. The page auto-updates as you edit the file.
To create a production build, you first need to patch @jupyter-widgets/controls to avoid issues with early loadings via require.js.
diff --git a/node_modules/@jupyter-widgets/controls/lib/index.js b/node_modules/@jupyter-widgets/controls/lib/index.js
index 0063f69..ade0862 100644
--- a/node_modules/@jupyter-widgets/controls/lib/index.js
+++ b/node_modules/@jupyter-widgets/controls/lib/index.js
@@ -22,5 +22,5 @@ export * from './widget_tagsinput';
 export * from './widget_string';
 export * from './widget_description';
 export * from './widget_upload';
-export const version = require('../package.json').version;
+export const version = "0.1.0";
 //# sourceMappingURL=index.js.map
\ No newline at end of file
diff --git a/node_modules/@jupyter-widgets/controls/src/index.ts b/node_modules/@jupyter-widgets/controls/src/index.ts
index 912458d..5edaa11 100644
--- a/node_modules/@jupyter-widgets/controls/src/index.ts
+++ b/node_modules/@jupyter-widgets/controls/src/index.ts
@@ -24,4 +24,4 @@ export * from './widget_string';
 export * from './widget_description';
 export * from './widget_upload';

-export const version = (require('../package.json') as any).version;
+export const version = "5.0.12";
You can create a static version of the application that you will find under the out folder.
npm run build
npm startCopyright (c) 2025 Datalayer, Inc.
Released under the terms of the MIT license (see LICENSE.


