This project was funded by Catalyst Fund 10 and integrates minting of NFTs on ESP32 embedded device thanks to NMKR studio APIs.
You can find the video tutorial here https://youtu.be/I2P5EhZ9DPg
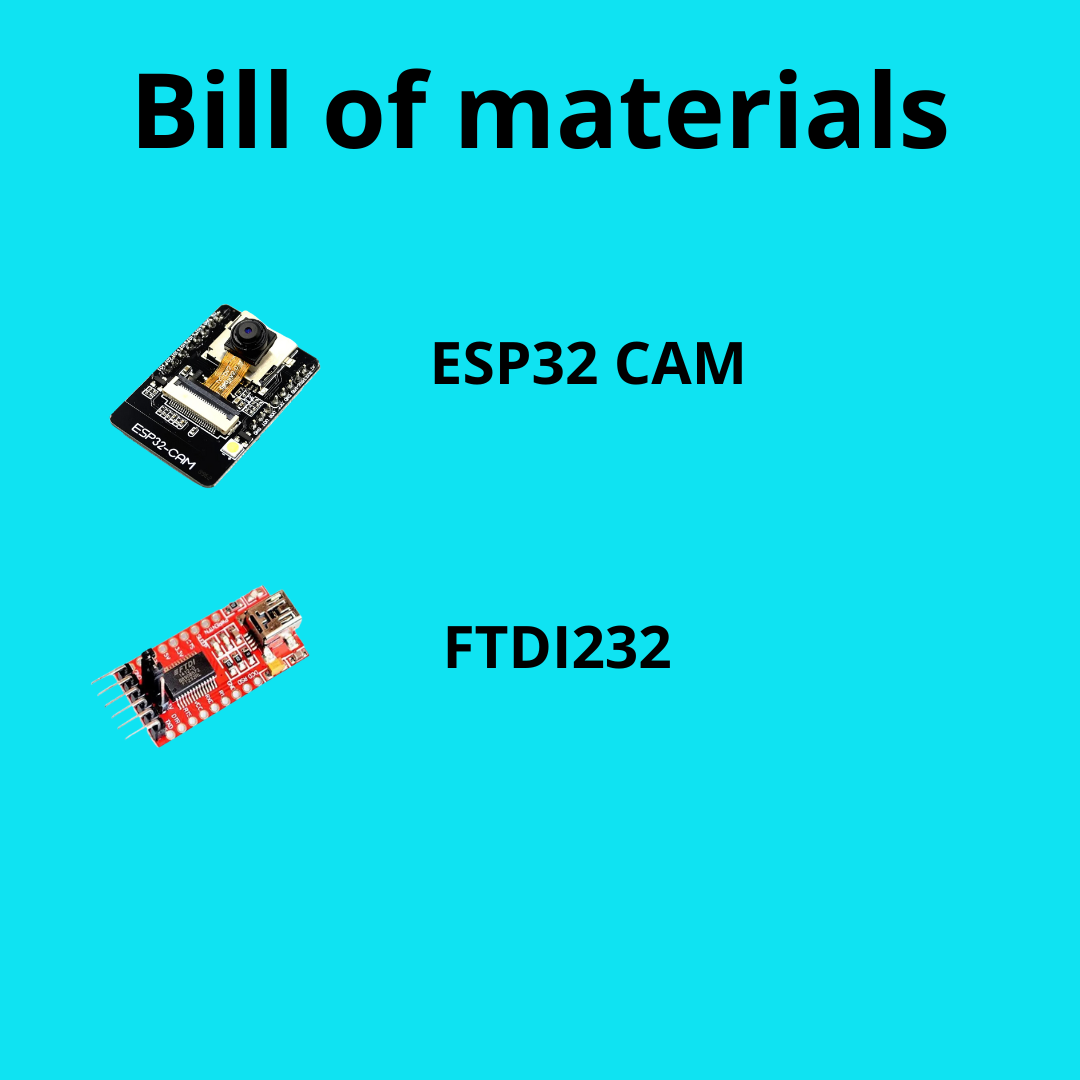
In order to run this project you will need as hardware:
- ESP32 CAM
- FTDI232 as programmer
- Jumpers to use it as connectors
After installing ESP-IDF 4.0 (Some libraries don't work with 4.1 version) and the esp-camera library (it is not already included in the components of esp-idf) go into the AIcam folder open esp-idf and run the command
You can download ESP-IDF from here: https://docs.espressif.com/projects/esp-idf/en/release-v4.0/get-started/index.html#get-started-get-esp-idf

Click on the first option and download the installer, then you can find the 4.0 version here
https://github.com/espressif/esp-idf/releases/v4.0
Here a tutorial about how to use the library in the command line: https://youtu.be/Q4lmcQgpIio
If you get errors regarding the esp_cam library missing you'll find it here https://github.com/espressif/esp32-camera/tree/master
idf.py all
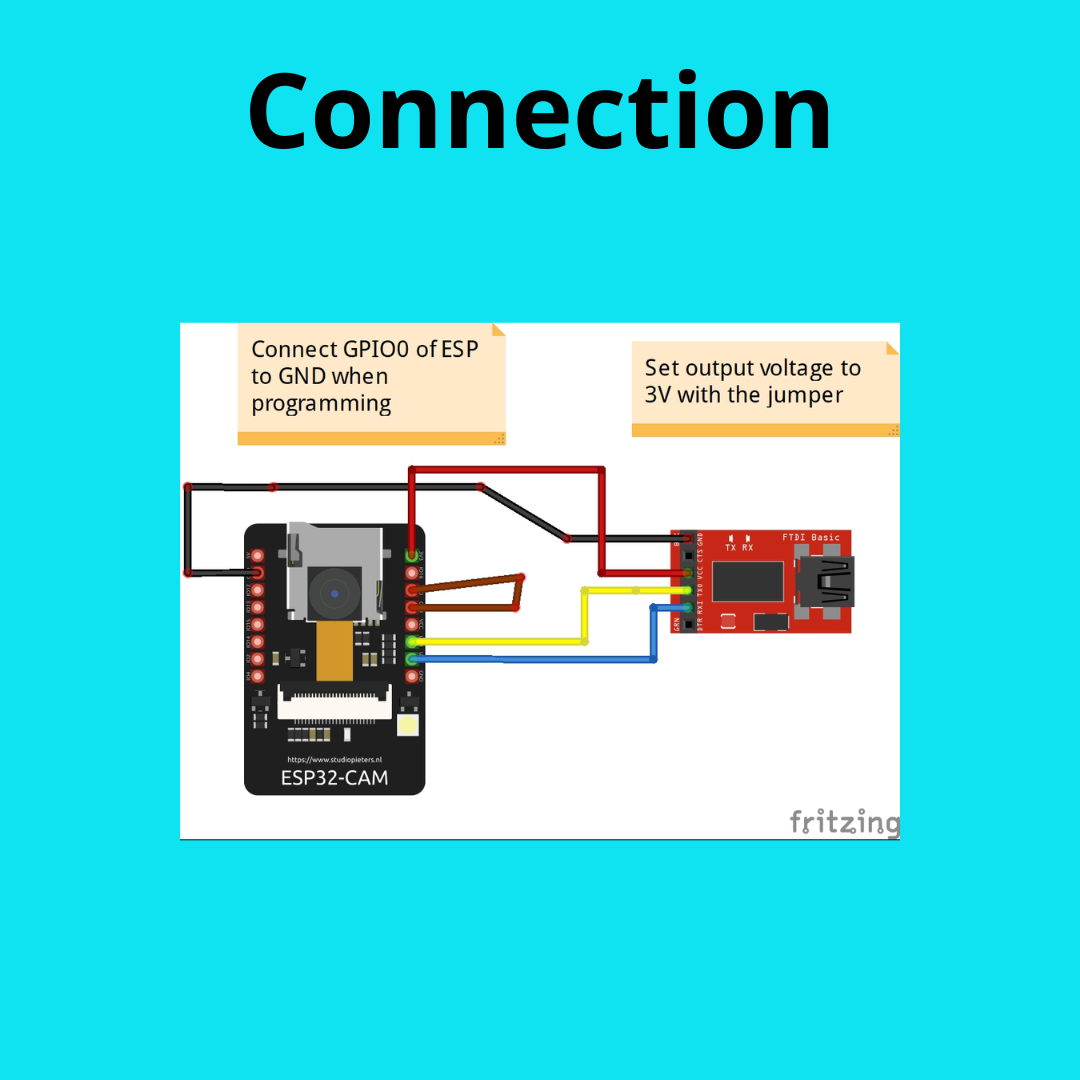
Now the project should be built and you are ready to flash it. Connect the esp32-cam as follows with FTDI232
| ESP32-CAM GPIO | FTDI232 |
|---|---|
| 3V3 | VCC |
| GND | GND |
| V0R | TX |
| V0T | RX |
| IO0 with GND | -- |
Press the reset button on esp32-cam and run the command
idf.py flash
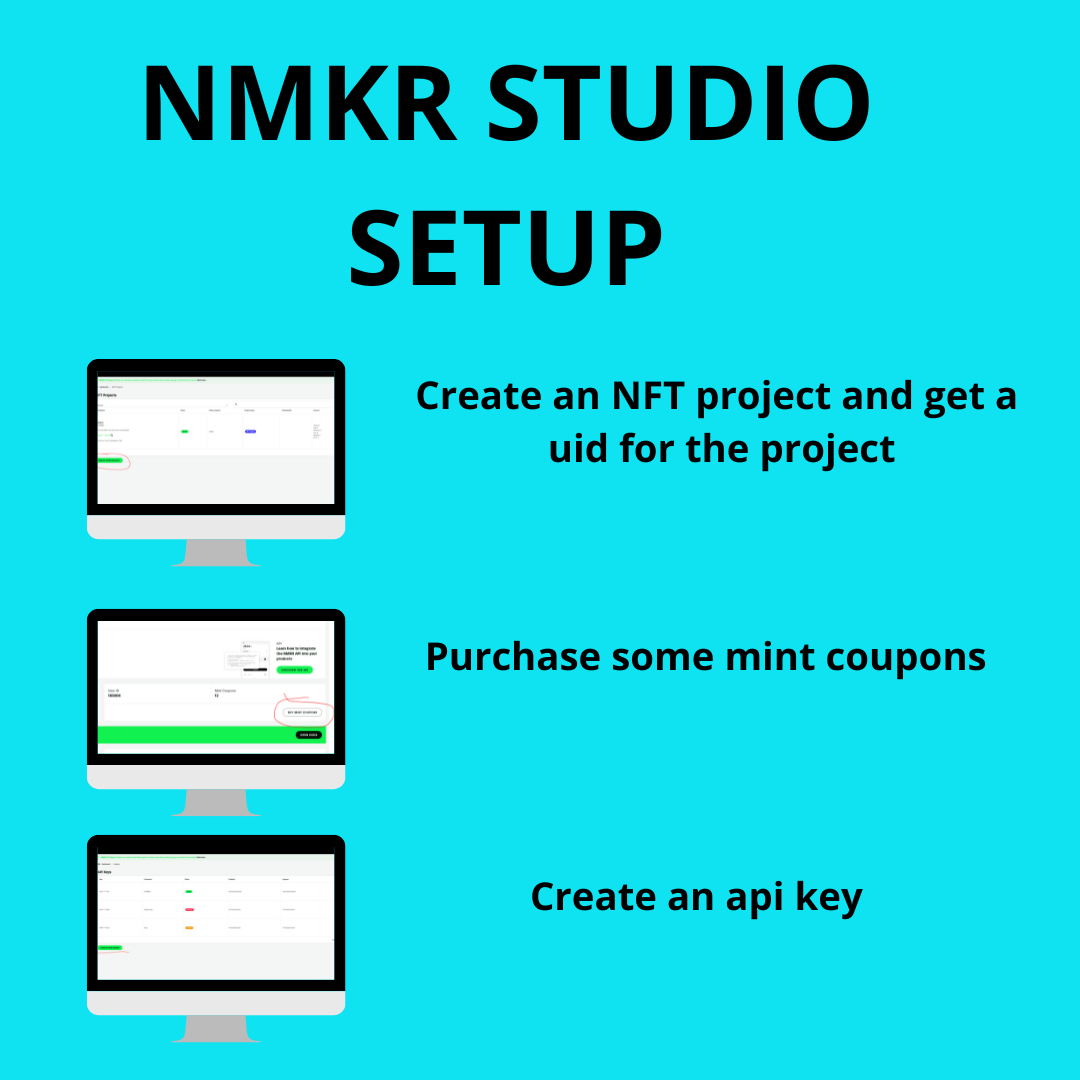
In order to run the Camera and mint NFTs we will need to setup an account on NMKR studio:
- UID of the NFT project to mint under the same policy
- API key for using the APIs
- MINT coupons to mint directly from the API on the go
You can find all the docs of the NMKR APIs here https://studio-api.nmkr.io/swagger/index.html but we'll be using the following:
- /v2/UploadNft/{projectuid} to upload an image as NFT on NMKR studio
- /v2/MintAndSendSpecific/{projectuid}/{nftuid}/{tokencount}/{receiveraddress} This will mint a specific NFT and send to an address


To use the cam the connection may be just the power supply, you need to change the jumper on the FTDI232, therefore like the following
| ESP32-CAM GPIO | FTDI232 |
|---|---|
| 5V | VCC |
| GND | GND |
Press the reset button and the camera will start!
When the esp32-cam turns on it will generate its own wifi, the name is IoTNMKR and the password is 12345678, after connecting open a browser and go to the page http://192.168.1.1 This page will appear:
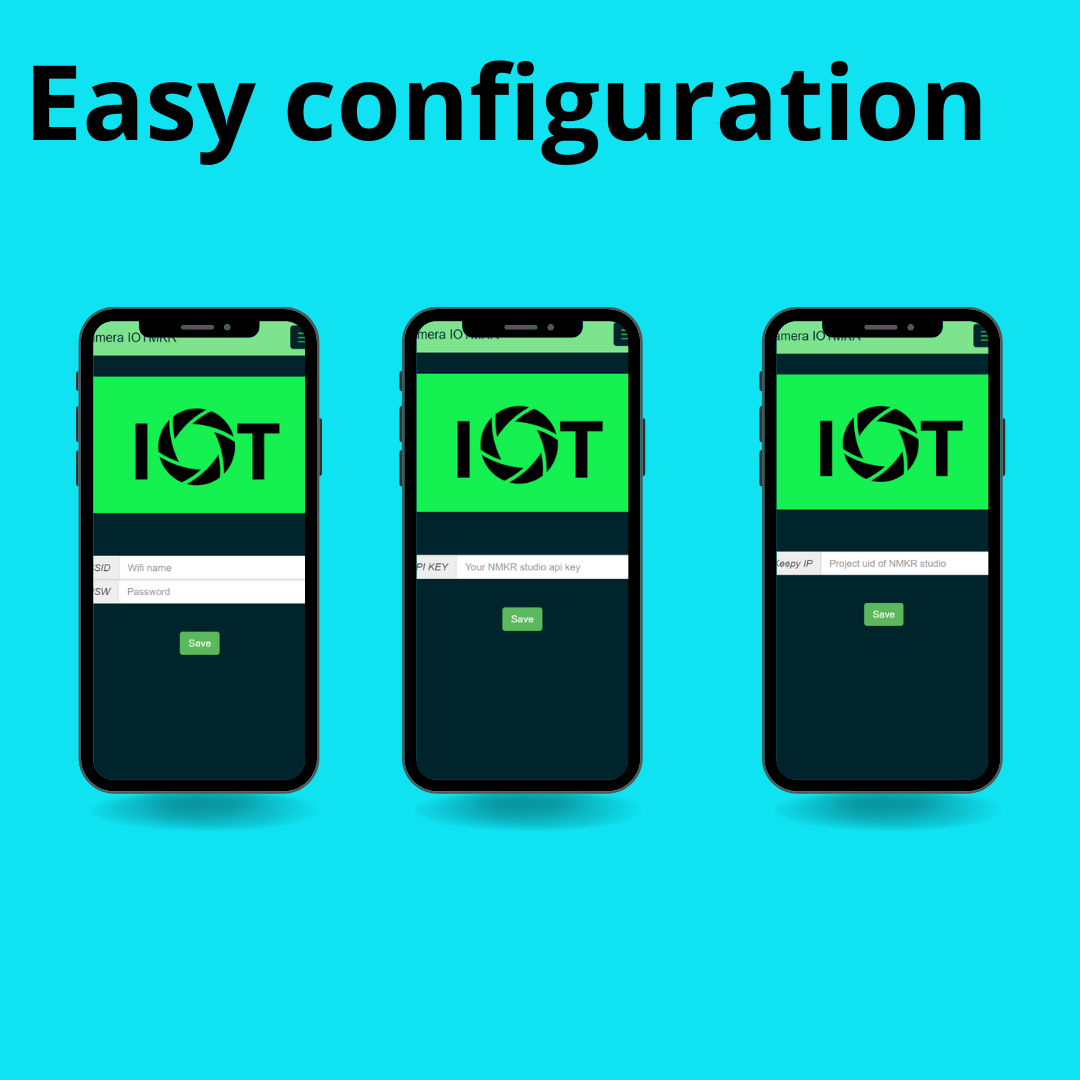
Before pressing Activate camera let's configure all the parameters (parameters are stored in Not volatile storage of ESP32 therefore you need to set everything only the first time), like the wifi
Setup the Wifi, uid project of NMKR, api Key and also the address that will receive the NFTs minted
Now just press activate camera and your camera will start to pubblish detected objects on the Cardano
You can track my tests at the address handle $iotnmkr
