Tweet sharing service for macOS


お手軽簡単、数ステップであなたのアプリケーションからツイートが出来るようになります。
動画のツイートはまだ未対応
Twitter Appを登録。 callback URLはカスタムスキームを設定。
Twitter Appの登録情報からTweetServiceを生成。
class ViewController: NSViewController {

    private var tweetService: TweetService?

    override func viewDidLoad() {

        self?.tweetService = TweetService(callbackScheme: "customscheme",  // カスタムスキームは何でもOK
                                         consumerKey: "########",
                                         consumerSecretKey: "###############")
        self?.tweetService.delegate = self
    }
}TweetServiceDelegateProtocolに準拠。
ツイートパネルのparentViewControllerとなれるNSViewControllerを返す。
extension ViewController: TweetServiceDelegate {

    func tweetSetviceAuthorizeSheetPearent(_ service: TweetService) -> NSViewController? {

        return self
    }
}NSSharingServicePickerDelegateProtocolに準拠。
sharingServicePicker(_:sharingServicesForItems:proposedSharingServices:) で TweetService#sharingServicePicker(_:proposedSharingServices:)の戻り値を返す。
extension ViewController: NSSharingServicePickerDelegate {

    func sharingServicePicker(_ sharingServicePicker: NSSharingServicePicker, sharingServicesForItems items: [Any], proposedSharingServices proposedServices: [NSSharingService]) -> [NSSharingService] {

        return tweetService?.sharingServicePicker(items, proposedSharingServices: proposedServices) ?? proposedServices
    }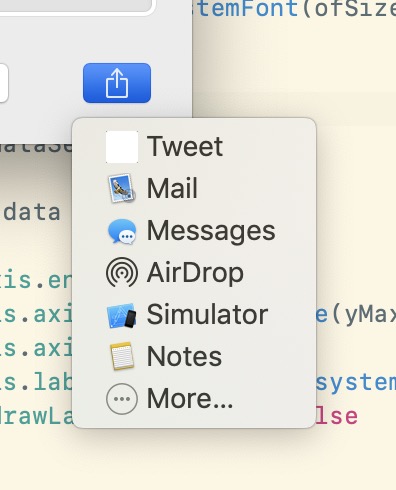
}アクションを作ってシェアボタンに接続。
extension ViewController {
@IBAction private func tweet(_ button: NSButton) {
let items: [Any?] = [
textField?.stringValue,
imageView?.image,
imageView2?.image,
imageView3?.image,
imageView4?.image,
]
let picker = NSSharingServicePicker(items: items.compactMap( { $0 } ))
picker.delegate = self
picker.show(relativeTo: .zero, of: button, preferredEdge: .minX)
}
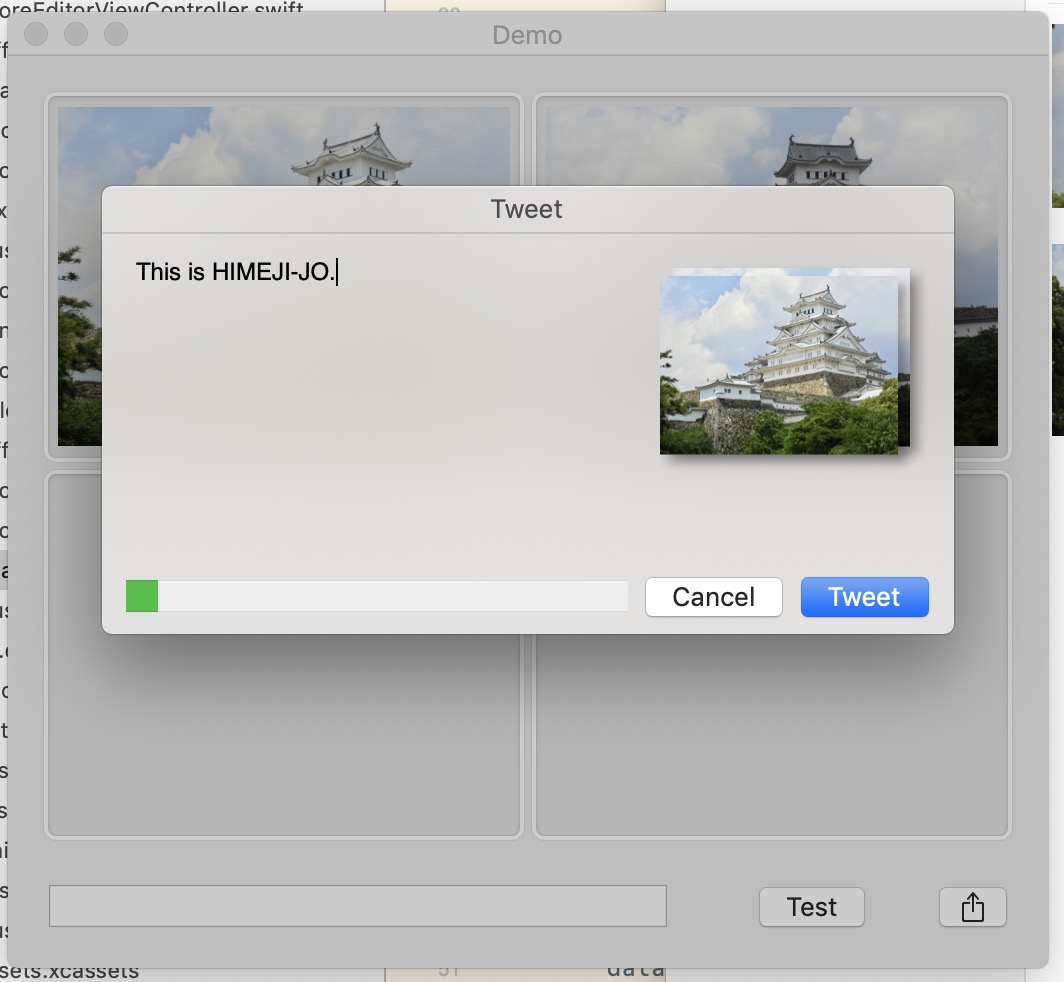
}以上、たったこれだけであなたのアプリケーションからツイートが出来るようになります。
Carthage使えます
Cartfile
github "masakih/TweetService"
コマンド
carthage update --platform macos- TweetService.framework
をリンクしてください。
- TweetService.framework
の他に
- BrightFutures.framework
- KeychainAccess.framework
- OAuthSwift.framework
- Result.framework
- TwitterText.framework
をエンベッドする必要があります。 Carthageを利用した場合はCarthageディレクトリにあります。
以下を参考にしてください。
let twitterKeys: TwitterKeys = (
    "customScheme",                      // Twitter app のカスタムスキーム
    "**************",                    // Twitter app の Consumer Key (API Key)
    "********************************"   // Twitter app の Consumer Secret (API Secret)
)