Setting up the Cloudfront collector
HOME > [SNOWPLOW SETUP GUIDE](SnowPlow setup guide) > Collectors > [Cloudfront collector](setting up the cloudfront collector)
The Cloudfront collector is the most common collector employed by SnowPlow uses.
A tracking pixel (called i) is uploaded to Amazon Cloudfront CDN. The SnowPlow Tracker sends data to the collector by making a GET request for the pixel, and appending the data to be passed to the pixel query string. The Cloudfront Collector uses Cloudfront logging to record the request (including the query string) to S3.
- Simple and robust (no moving parts). All the collector does is faithfully log
GETrequests from trackers. Because logging is done using the standard Amazon Cloudfront logging, it is incredibly reliable. - Scalable. The Cloudfront collector is powered by Amazon's cloud infrastructure: specifically its content delivery network, which is built to billions of requests per day.
Setting up the Cloudfront Collector is a five stage process:
-
Setup a bucket on Amazon S3 for the 1x1 tracking pixel
i. This is the pixel that will be requested by everyGETmade by the SnowPlow tracker. - Upload the tracking pixel to the bucket.
- Create a bucket on S3 for the SnowPlow logs, generated by the Cloudfront collector.
-
Create a Cloudfront distribution for serving the tracking pixel that is now stored in S3. This will ensure that the pixel is fetched very quickly (using Cloudfront's CDN) and crucially we will use Cloudfront logging to record every request made of the tracking pixel. These requests will contain all the data passed to the collector from the tracker, appended to the
GETrequest in the form of a query string. - Test your tracking pixel on Cloudfront.
In this guide we also cover:
If you want to self-host the tracking pixel, you will need the following:
- An account with Amazon Web Services
- S3 and Cloudfront enabled on your AWS account
Once you have the above, please read on...
## 1. Creating a bucket on S3 for the tracking pixelLog into your AWS account on console.aws.amazon.com and select S3 from the list of services offered. (Under Storage & Content Delivery.) You should be presented with a screen like the one below:

We need to create a new bucket to store the 1x1 tracking pixel. To do this, simply click on the Create Bucket button on the top left of the screen, just under the "Buckets" title:

Enter a name for your bucket. (Note you wont be able to use snwplw-static itself, as every bucket name has to be globally unique, and we have just taken this one.)
Enter a bucket name and select a region. (The choice of region is not critical as the pixel will be served using Cloudfront. However, there are some privacy implications, especially for companies in the EU, that may mean you wish to select Ireland as your location: see a note on privacy below).
Do not setup logging on this bucket. We will use Cloudfront, not S3, logging to record requests made for the tracking pixel.
Click the Create button on the bottom right of the popup. The new bucket should now be visible on the list of buckets on the left of the screen. On selecting it, you wil get a warning that the bucket is empty. (We haven't added the tracking pixel yet!)

You can download a copy of the tracking pixel from the SnowPlow Github repo. One convenient way to quickly grab i is to execute the following at the command line:
$ wget https://github.com/snowplow/snowplow/raw/master/2-collectors/cloudfront-collector/static/i
To upload the tracking pixel into the bucket you just created, click on the Upload button on teh top left of the Objects and Folders window that makes up most of the screen. A popup will appear:

Click on the + Add Files button and select the tracking pixel from the location you downloaded it to on your local machine. The tracking pixel file should be lisetd on the popup. When it is, click the Start Upload button on the bottom right of the popup.
When the upload is complete, the pixel should be listed in the bucket:

Now we need to make the file public, so that it is accessible to anyone visiting your website(s) or mobile app. Right click on the file and select Make Public from the menu:

Confirm that you want to make the file public and Amazon should complete the operation:

Click on the Create bucket button again, this time to create a second bucket for storing the log files that Cloudfront will generate. Give the bucket a suitable name.
/setup-guide/images/cloudfront-collector-setup-guide/s3-create-logging-bucket.jpg
## 4. Create a Cloudfront distribution to serve the tracking pixel, and generate the event logs
Having setup everything in S3, we now need to create a Cloudfront distribution. This will be used to serve the tracking pixel i. (So we need to tell Cloudfront to serve the contents of the first bucket in S3 we created, that houses the tracking pixel.) We also need to switch on Cloudfront logging, so that every request made for the tracking pixel by the SnowPlow tracker will be logged. Again, we need to tell Cloudfront to store these logs in the bucket we created in step 3 above.
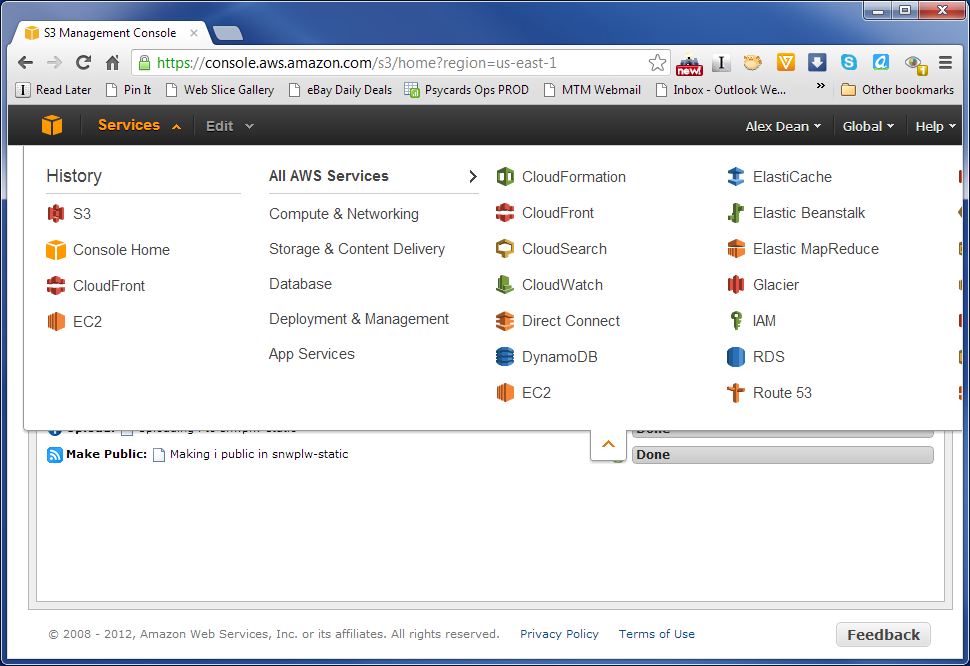
Click on the Services menu on the top left of the browser screen, and select Cloudfront from the drop down:
You should see a screen like the following: (Note - if you have not setup many Cloudfront distributinons previously, it will look a lot more sparse :-) .)

Click on the Create Distribution button on the top right of the window. When presented with the following screen, select Download (rather than Streaming) and click the Continue button.

Now we are presented with a screen with many options:

The first field, Origin Domain ID lets us specify where Cloudfront should find the content to distribute on the Cloudfront subdomain we are in the process of creating. If you click on it, you will be presented with a drop down:

In the drop down you should see the bucket you setup in step 1 that contains the tracking pixel i. Selet this - the Origin ID field should be automatically populated for you:

Great! We've linked the Cloudfront subdomain to the bucket on S3 with our tracking pixel. Now we need to switch on Cloudfront logging, and ensure that Cloudfront logs to the bucket we setup in S3. Scroll down the list of options (you will need to scroll quite far):

Change the radio button for Logging from Off to On. The two fields beneath it should be activated. Now click on the Buckets for logging field:

You should now be able to select the 2nd bucket you setup to store the logs.
Now all you need to do is tell Cloudfront to create the distribution. Scroll down to the end of the options and select the Create Distribution button:

You should see your new distribution listed:

Write down the Domain Name for the distribution you just created. (Highlighted above - in our case it is http://dzvb5g6uxbzaz.cloudfront.net.) You will need this in the next step (to test the collector is working), and when you setup your tracker.
Wait 10-15 minutes after creating the Cloudfront distribution before running the following test. (As it takes a little bit for the Cloudfront setup to complete...) Now try accessing your pixel over both HTTP and HTTPS using a browser, wget or curl:
http://{{SUBDOMAIN}}.cloudfront.net/i
https://{{SUBDOMAIN}}.cloudfront.net/i
If you have any problems, then double-check your CloudFront distribution's URL, and check the permissions on your pixel: it must be Openable by Everyone.
That's it - you now have a CloudFront distribution which can serve your tracking pixel fast to anybody anywhere in the world and log the request to Amazon S3 in your snowplow-logs bucket.
Above we mentioned that, from a performance perspective, it is not important which Amazon data center you choose to self-host your pixel, or indeed your JavaScript:

However, data center choice, particularly for your access logs, does matter from a data privacy perspective. For example, at the time of writing Amazon Web Services recommends storing data in the EU (Ireland) region if you wish to comply with EU data privacy regulations.
It is your responsibility to ensure that you comply with the privacy laws governing your web property and users.
## A note on non-production environmentsAt the moment, the SnowPlow ETL process does not have a facility for filtering out events generated by your development or test environments.
For this reason, we strongly recommend that you also self-host a second tracking pixel, to serve as a kind of /dev/null for SnowPlow events in your development and test environments.
A couple of notes on this approach:
- You would need to configure your web application to use the correct CloudFront account ID depending on environment
- Unless you want to analyse your development or test environment, disable logging on the CloudFront distribution for your pixel
If you prefer, the SnowPlow Analytics team maintains a publically available /dev/null tracking pixel on this account ID:
d3rkrsqld9gmqf
You have now competed the setup of the Cloudfront collector. As a next step, you should setup at least one tracker.