12 %E5%9F%BA%E7%A1%80%E5%B8%83%E5%B1%80
- 完成基础布局配置
- 调整路由配置使我们的基础布局生效
首先我们现在src的目录下创建一个基础layouts的布局文件夹。 然后我们再创建一个base-layout的布局文件夹,在其下创建一个index.vue的文件备用
我们在layouts的根目录创建一个index.ts暴露我们需要在外面使用的布局文件。方便我们后续集成使用。
我们在base-layout中的index.vue中集成我们的router-view如下:
<script lang="ts" setup>

</script>

<template>
  <div>
    <router-view />
  </div>
</template>

<style scoped>

</style>
接下来我们配置一下我们的路由,将路由的层级进行改造,在routes/static-routes.ts文件中:
import type { RouteRecordRaw } from 'vue-router'
import { Layout } from '~/layouts'
const staticRoutes: RouteRecordRaw[] = [
{
path: '/',
name: 'index',
component: Layout,
redirect: '/home',
children: [
{
path: '/home',
name: 'Home',
component: () => import('~/pages/index.vue'),
meta: {
title: 'Home',
},
},
{
path: '/workspace',
name: 'Workspace',
component: () => import('~/pages/workspace/index.vue'),
},
],
},
]
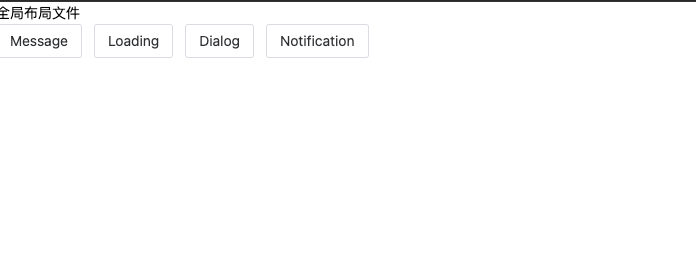
export default staticRoutes为了能看到是否我们的布局是否真正生效,接下来我们在base-layout中先写一些文字测试一下。
<script lang="ts" setup>

</script>

<template>
  <div>
    全局布局文件
    <router-view />
  </div>
</template>

<style scoped>

</style>
预览效果: